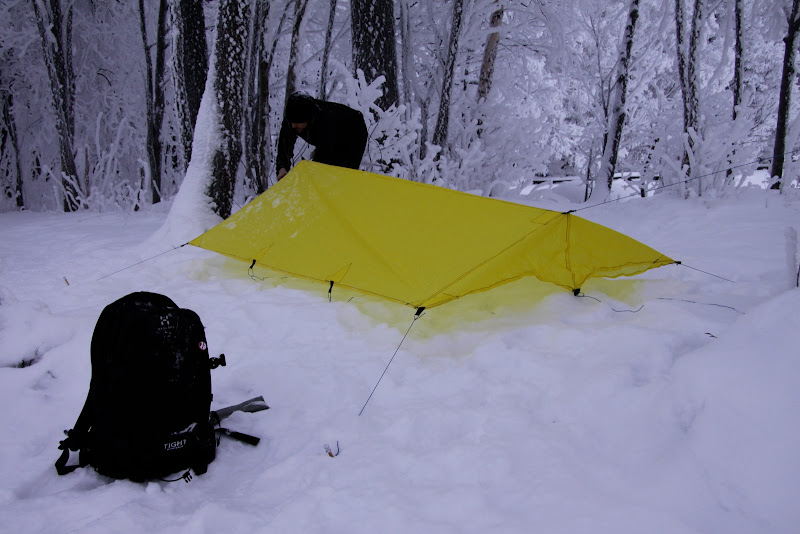
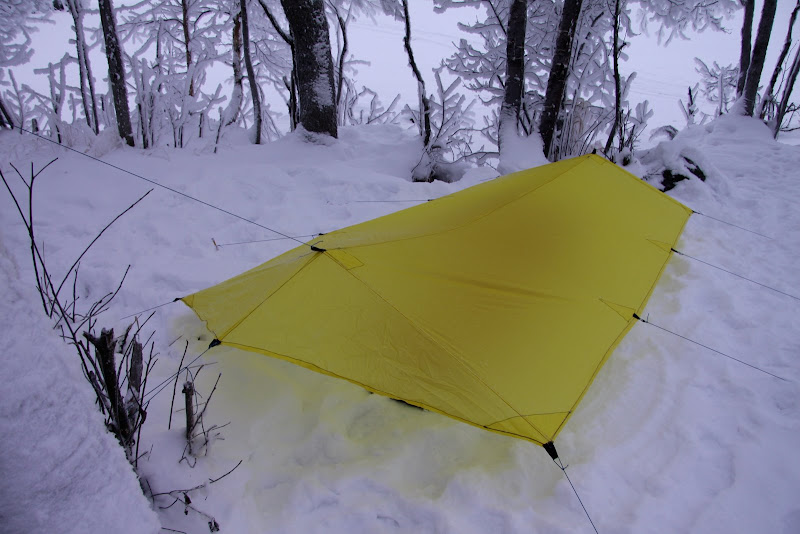
As promised yesterday, I went out and pitched my MYOG Tarp. I let the photos speak for themselves. Bear in mind, its the first time ever I pitched a tarp, and as you can see, it is in the snow - the ground was rock hard, so its not perfect. Anyhow, here we go.
Front beak.
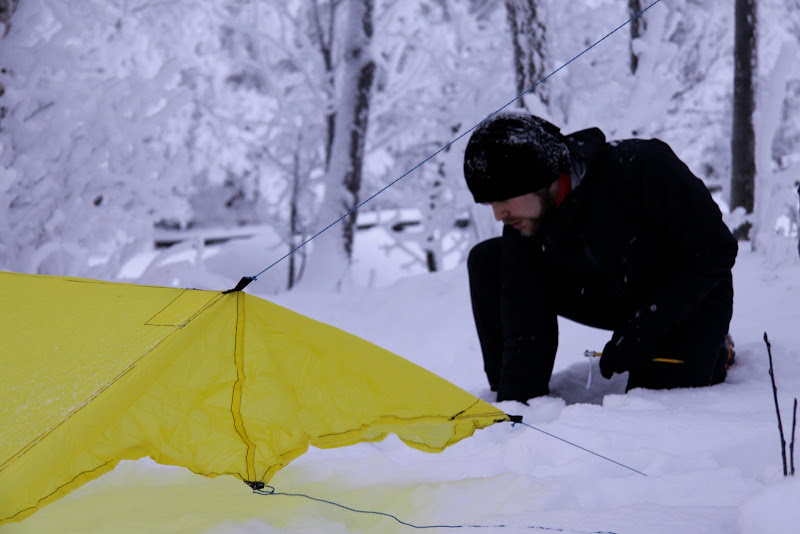
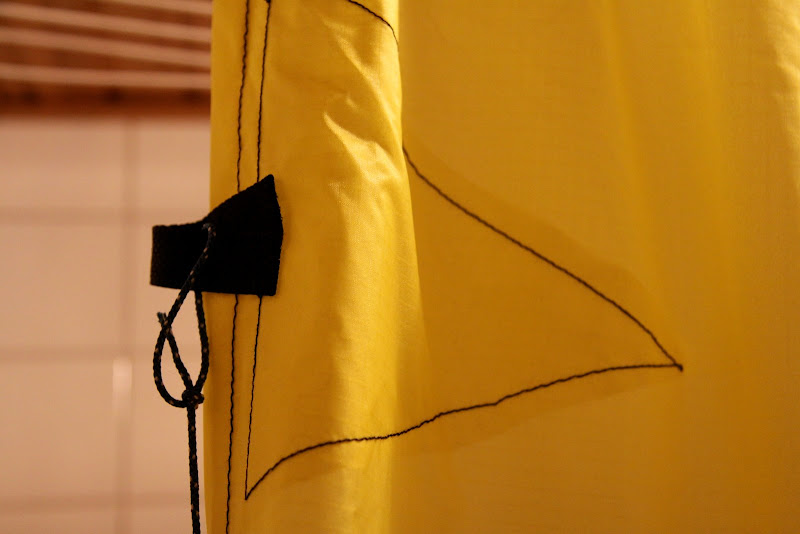
Side tie-out.
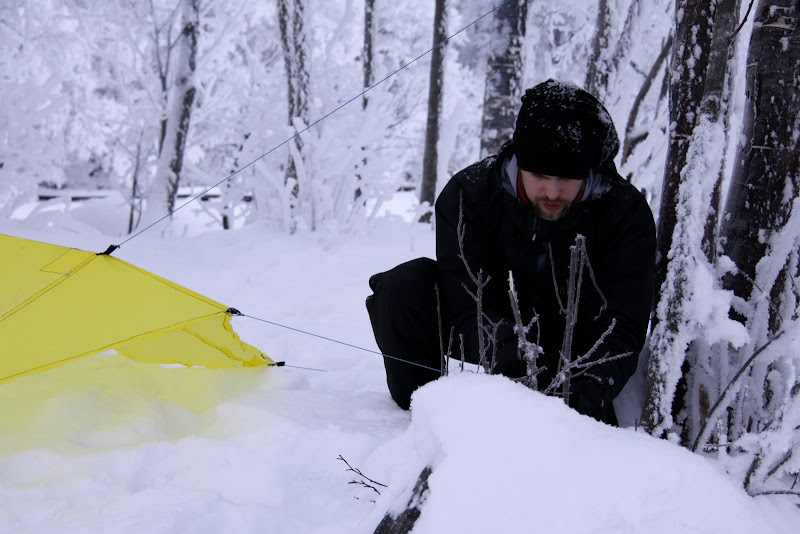
Back beak.
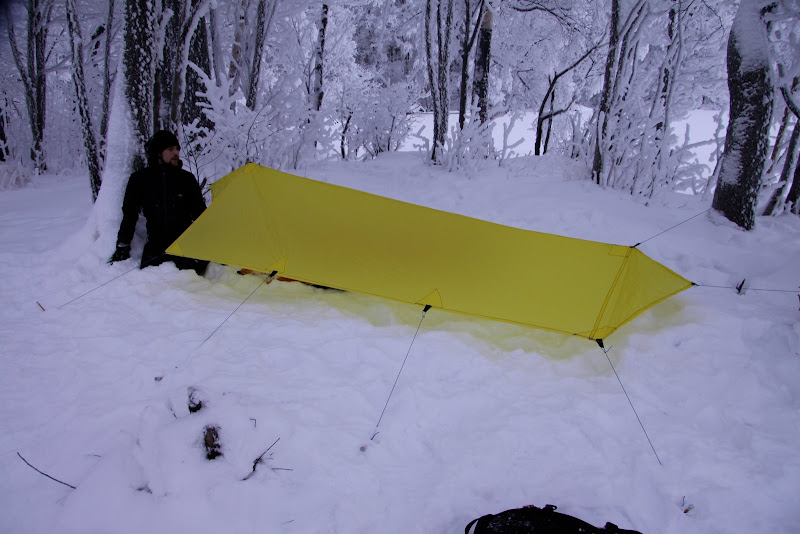
Almost done.
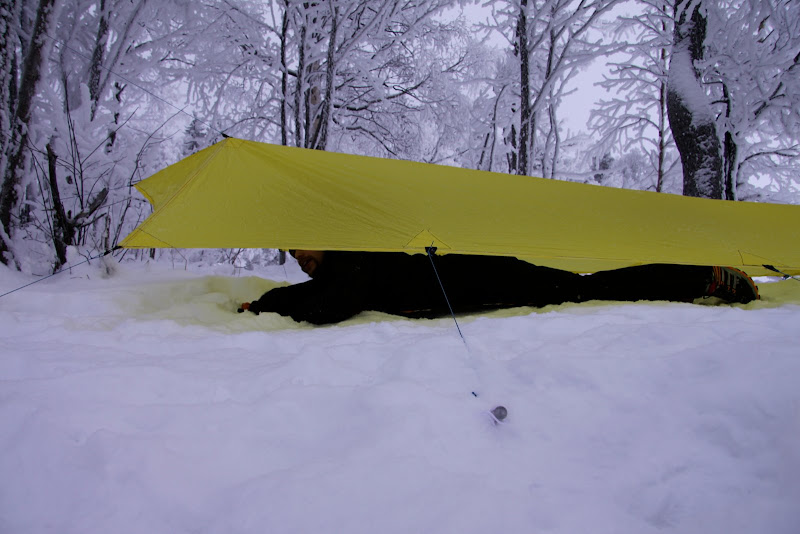
Under it.
Getting out.
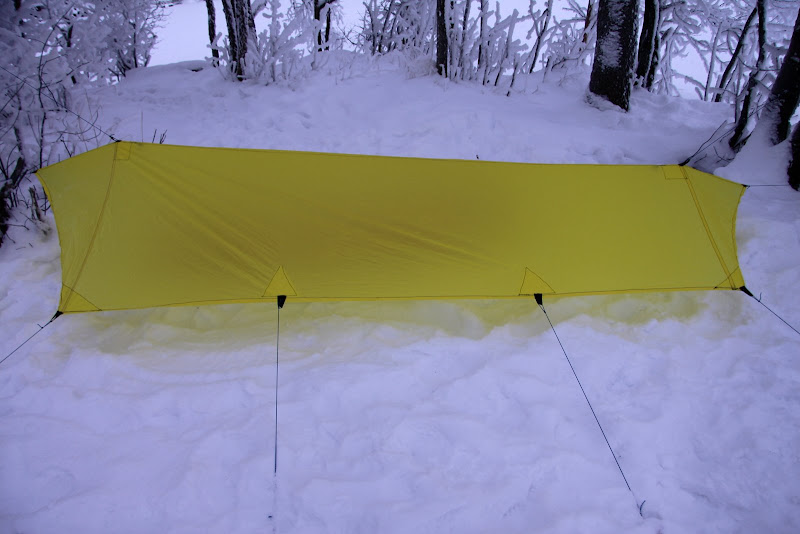
Not completely drum tight.
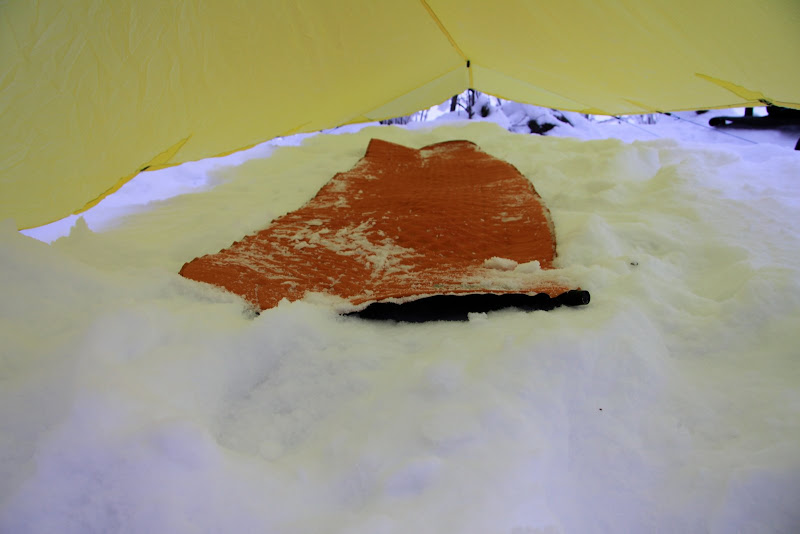
Plenty of space underneath.
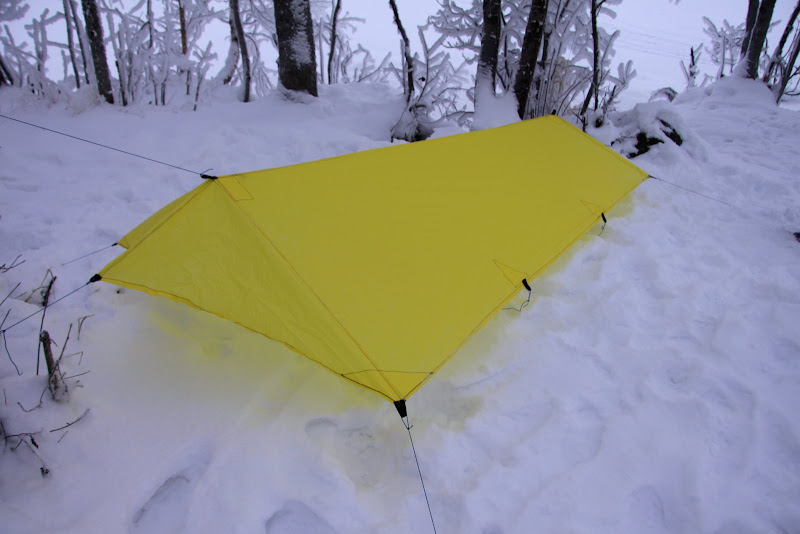
In all its glory.
I pitched it between to trees, which worked very nicely. Didn't really prepare the site, as I just pitched it as a test to see if its OK and for some photos. In real backpacking conditions I might use dead men snow anchors for the side and front tie outs, and I am getting a pair of walking sticks which should help in case no perfect trees are available. I'm also getting some other pegs, although the 9" Easton pegs I used this time were fine. I'm pondering about adding line-locs for the side tie-outs, those are easily installed and would add 16 g for 8 of them. Anyhow, I will give it a try in two weeks on the trail, which will be its first test. Any tips you got are welcome!
As hinted at in my last article, my next MYOG project is a tarp. Already last October I wrote about tarps I am looking at, but because I am (still) indecisive about which one to get, I thought it might be a good idea to just make one myself. I raised the bar a bit and aimed at staying under 500 g with this project, that's not as low as if I would buy a tarp but then I am using silnylon for this project and not very expensive cuben or spinnaker - this is after all my second sewing project.
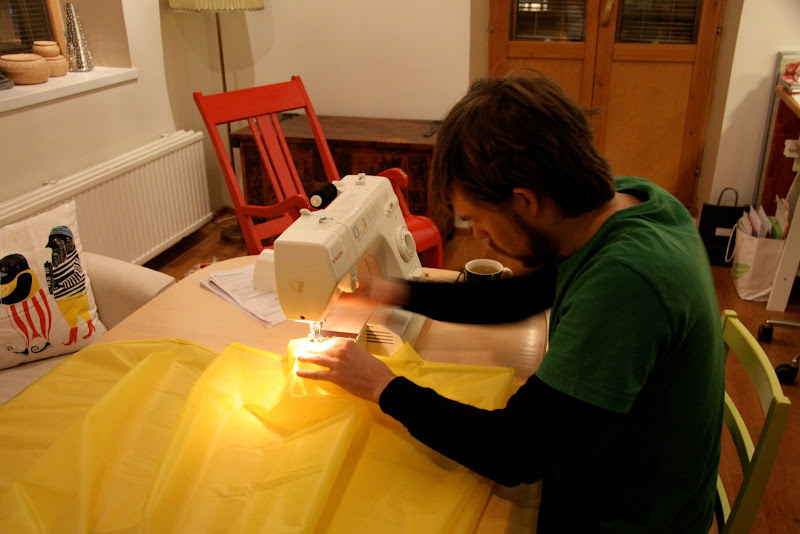
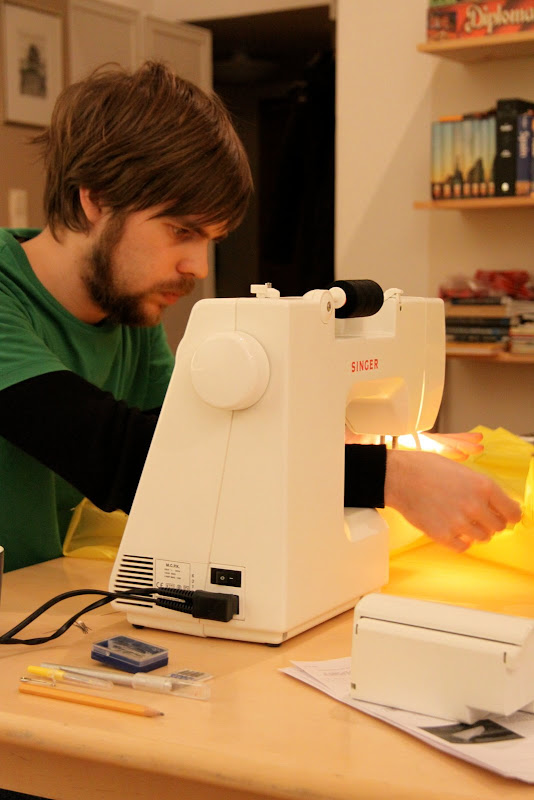
There was lots...
... and lots of concentrated sewing on this project.
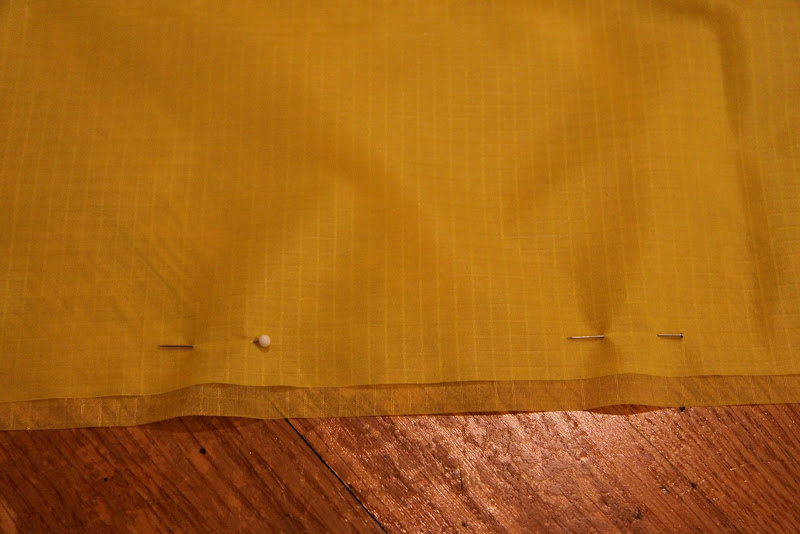
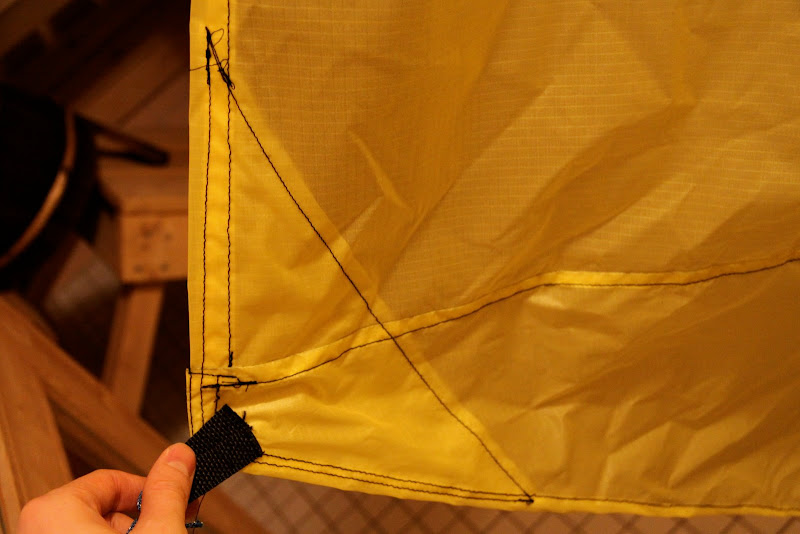
Well, what is there to say? I followed the BPL article "Make Your Own Gear: Five Yards to SuperUltraLight: Part 3 - Tarp" though I made a few changes. One is that my tarp is bigger, the ridgeline is 270 cm long and the front end is 200 cm wide, while the foot end is 160 cm wide. I made small beaks at both the front and back, have loops for a drying line on the inside, two reinforced tie-out points on each side (so four per side) and used webbing for the tie-out loops. Most importantly, I don't have a catenary cut ridgeline but a straight one. This might mean that getting it drum-tight is more difficult but I didn't want to go through calculating and cutting the cat cut, as this is my first tarp I think I might just get away with that. The material I got from extremtextil and Shelby.
Preparation is key.
Tie-out point at the side.
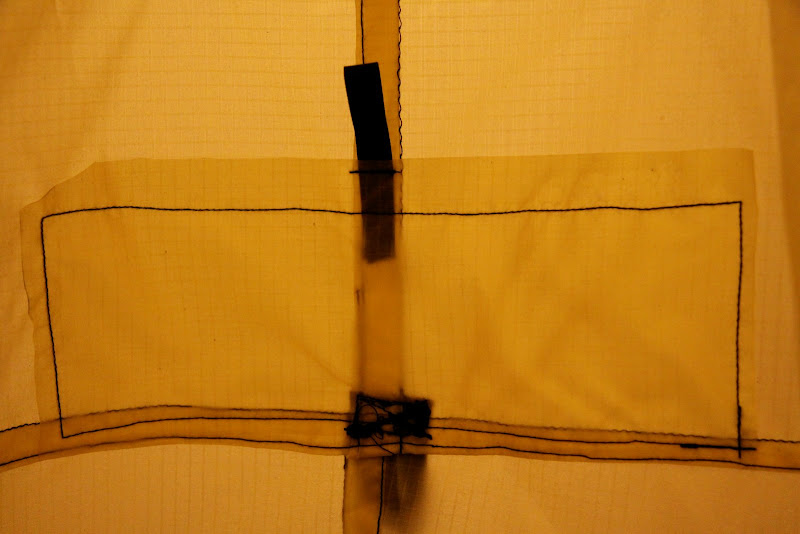
Reinforcement for the top tie-out point with inside drying line loop.
Reinforcement for the corner with webbing tie-out loop.
Well, the long ridgeline and the sides took a lot of concentration and precession to get straight and good, and also the webbing loops weren't to easy - the X-Box stitch is difficult if you're having a lot of material on either side and I was losing my nerves at one point (much to the amusement of my girlfriend, who was surprised that I could spent to much time on this without swearing!). But with every seam I got better, and while some of the ends and seams are better not looked at up-close, all in all I am very satisfied with the result.
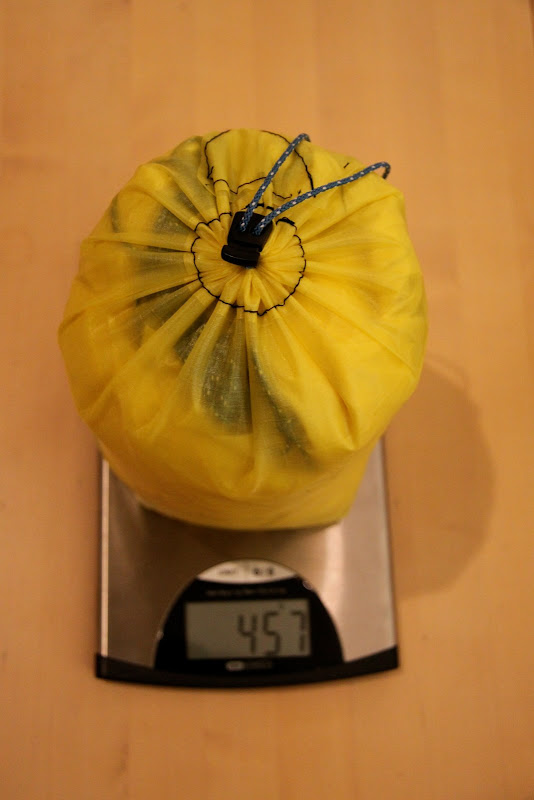
457 g including guylines in the stuff sack (which is 9 g).
I will try and get the tarp outside and set it up tomorrow to get some complete photos of it, but with -22°C and a rock solid ground (and no snow pegs) that might not be possible just yet. But you'll soon get a complete look of it, I promise.
A new year, and new goals. Long have I been reading about people who "Make Your Own Gear" or "MYOG" for short, and have thought that it must be expensive, complicated, time consuming, and not for me. Well, I was wrong. Buying the material and other accessories wasn't expensive at all. Sewing is so easy, I actually was surprised. Its not really time consuming once you have the routine down. Finally, I found I really enjoy it - its very rewarding to see the results of your own labour, especially if you usually work in front of the computer, like me.
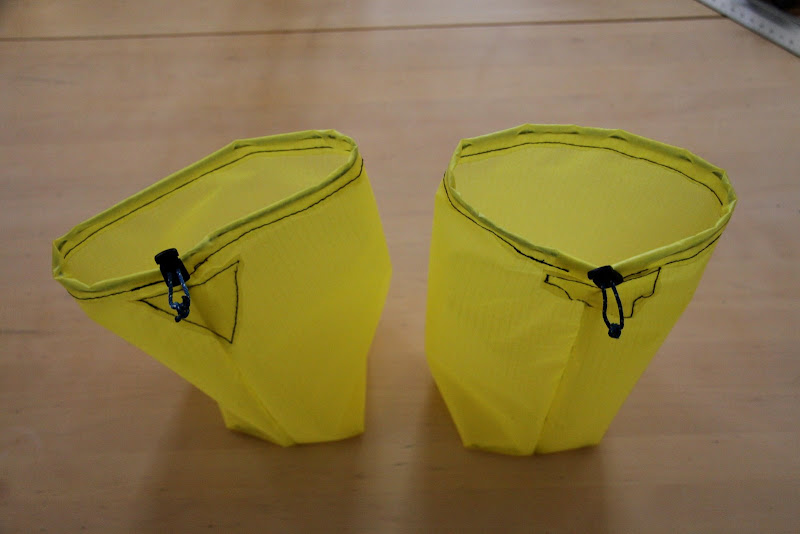
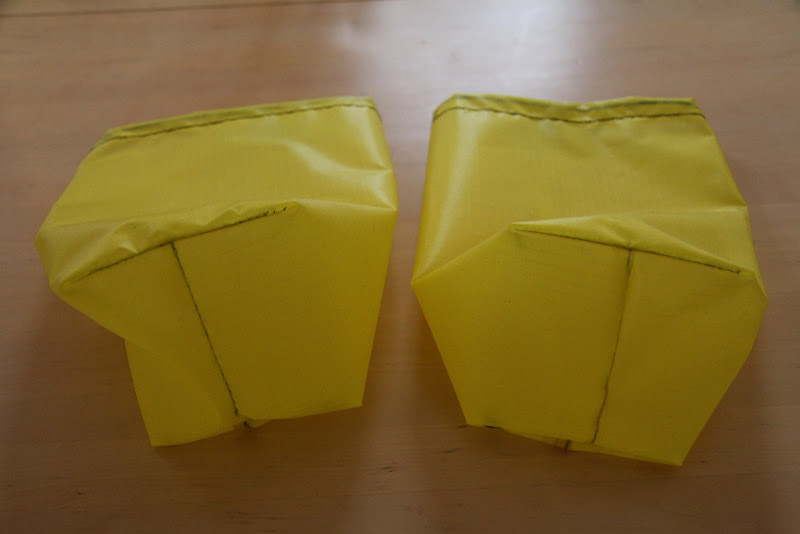
The finished stuff sacks.
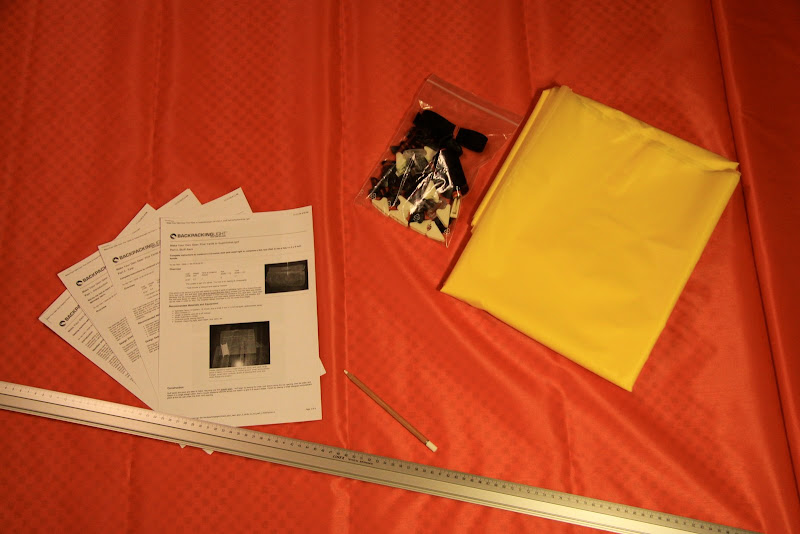
In order to sew myself a VBL (Vapour Barrier Liner) suit for winter tours I ordered a few meters of cheap silnylon from Extremtextil. Delivery was quick, and for a meter price of 3,40 € for the silnylon it didn't rip any huge holes into my budget. I got a few cordlocks from the local Partioaitta store at 0,70 € a pop and a meter of cord was 0,24 €. So all in all the cost of one of the stuff sacks I made is maybe around 1,20 €.
Anyhow, you'll have to wait for the VBL project, as for my first time in front of the sewing machine I decided to make some stuff sacks (If you follow me on Twitter, you'll have seen them already). You never can have enough stuff sacks, and it is a fairly easy project as well, taking less than an hour time. I didn't need to reinvent the wheel, as on Backpackinglight.com there was the excellent Make Your Own Gear: Five Yards to SuperUltraLight article series, and I decided this would be a good primer to get me ready. In Article number 2 the author goes through a step by step guide on how to sew a stuff sack, which I followed quite closely. The end result you can see above, but lets go step by step.
Silnylon, supplies, instructions and we're ready.
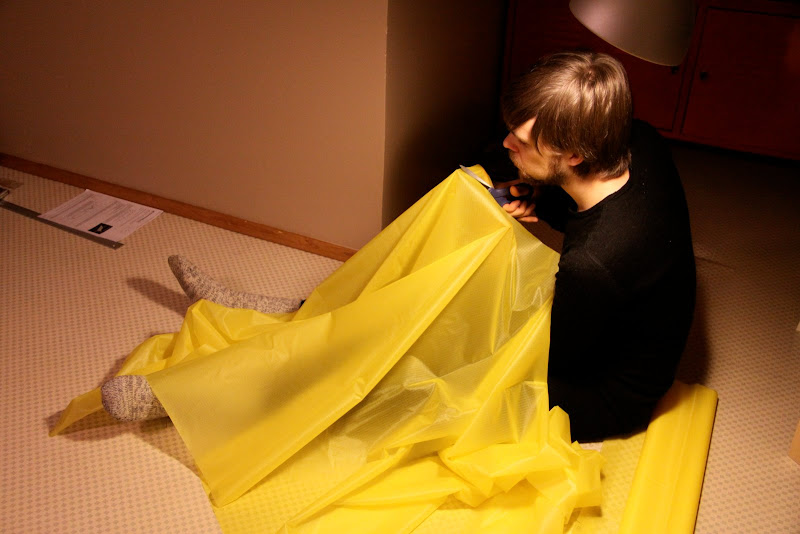
Making a plan of what you want to make is very helpful, before you start to cut your material wildly. Phil recommended me SketchUp as a CAD programme for Mac, its free and easy to use, so what else do I need? After I put down my pattern for the stuff sacks and the other projects in the programme, I drew it on the material, and then the sharp scissors got out.
Concentrated cutting.
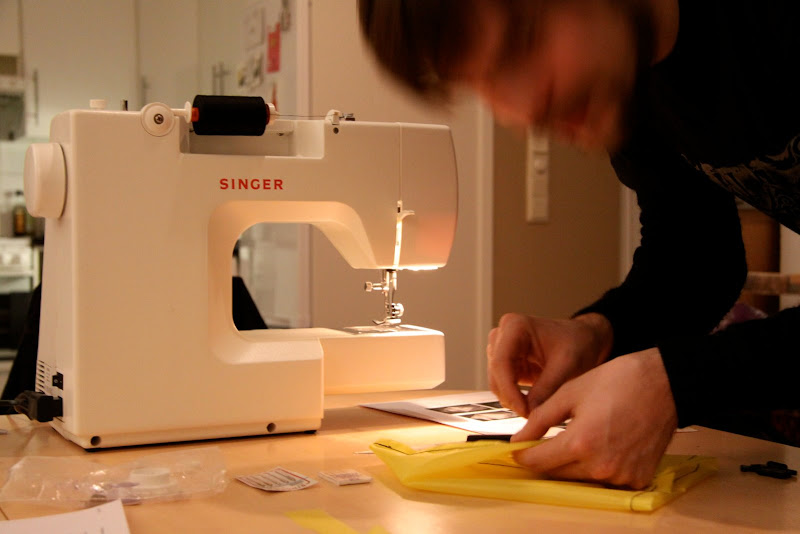
Concentrated sewing.
Concentrated folding.
Sewing the first stuff sack took me around 45 minutes, while the second one was already done after about 20 minutes. Its a really easy thing, and can be done by the novice as I just illustrated - it was the first time I sat in front of the sewing machine! Here some more close-up shots of the finished results:
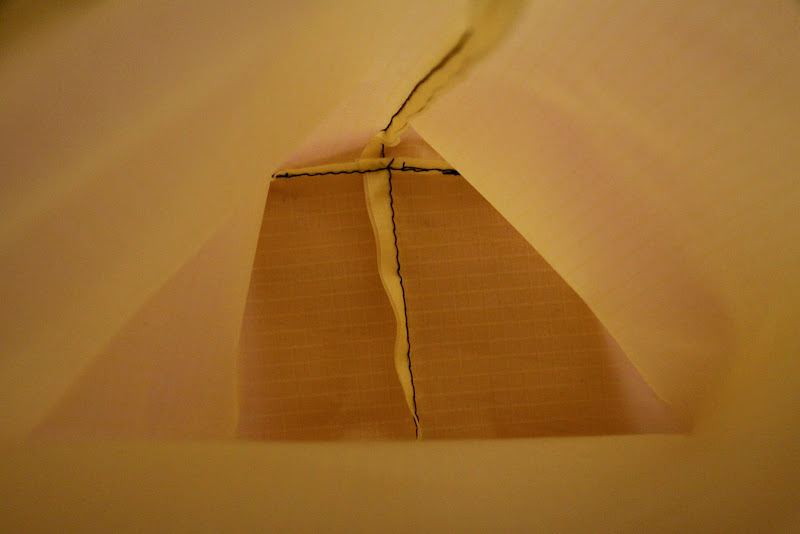
Square bottom.
Inside seams.
Cordlock closure & reinforcement on the front.
The stuff sacks check in at 9 g a piece, which is much lighter than any other stuff sacks I own. I reckon if I would use Spinnaker or Cuben I can go bigger and stay in the low double digits, but that will have to wait. So what's next? Well, the second item in the BPL article is a Tarp....