My Sunday afternoon project today was a MYOG meth stove. I am very happy with my BushBuddy Ultra, though for those very rainy and wet days or when I would be too tired to go and find dry wood, a small top burner stove would just be what can have me sit down in my tent and boil a cup of water. I followed the Basic Top Burner stove instructions on Zenstoves.net but also had a look at The Other Face's (in German) stove.
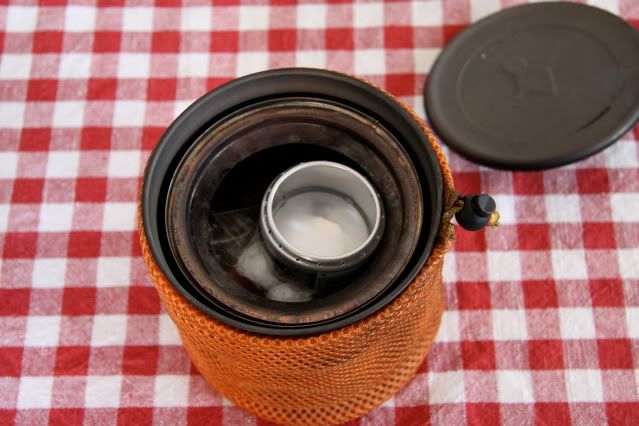
It fits inside my BushBuddy Ultra together with my FireSteel and cotton balls!
I hope you found this little guide interesting and inspiring to try it yourself. Its an easy task and takes around 30 minutes, and doesn't need special tools. I know there are a few (new) BushBuddy Ultra owners out there, so this could be an interesting project for them ;)
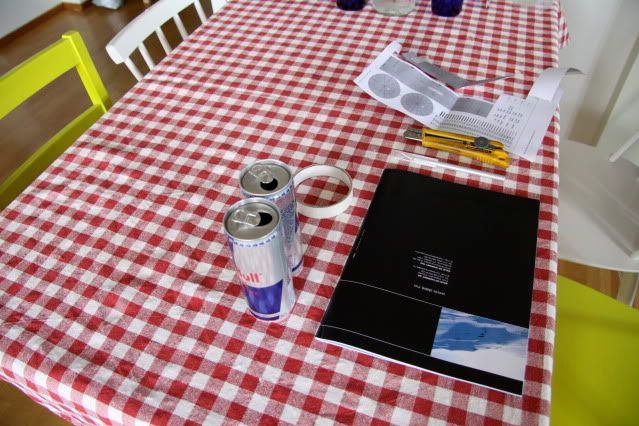
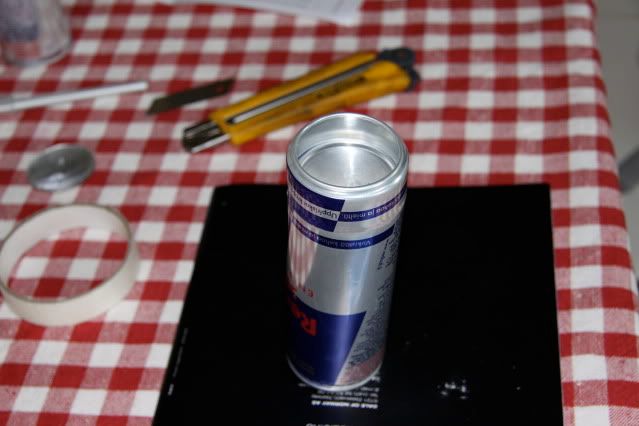
Go get the following tools, I'll walk you through this! You need:
- two Redbull cans
- scissors
- a sharp cutter knife
- some tape
- a hole punch
- a needle or similar
Start!
Take one Redbull can, and start cutting the bottom out of the can. I found it most simple to mark out the the place to be cut a few times and then add more pressure for the cut. The material is very thin, and this method has worked well for me.
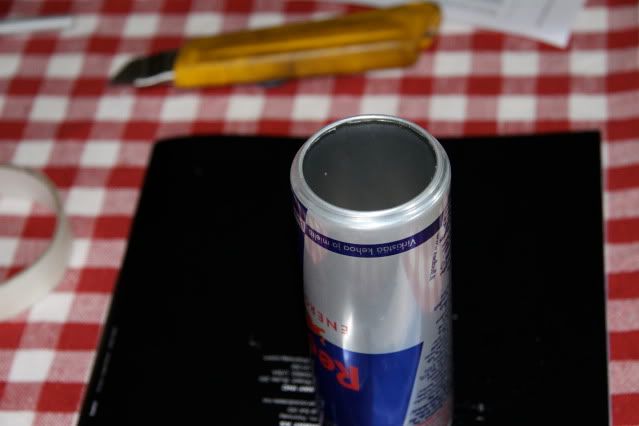
Finished hole in the bottom.
Next I turned the can with the hole down, took a book of 2,5 cm height and marked the can where I want to cut it off.
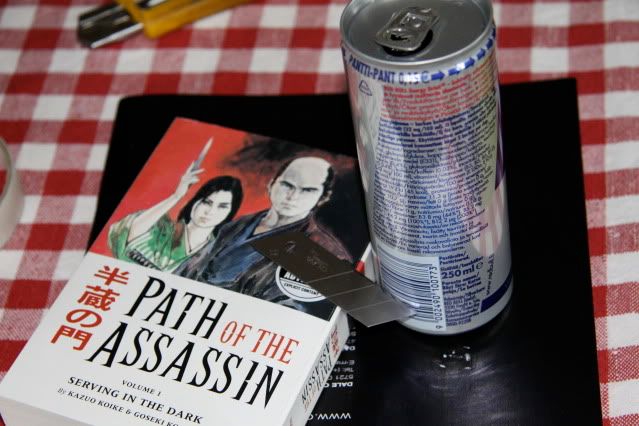
Marking the can.
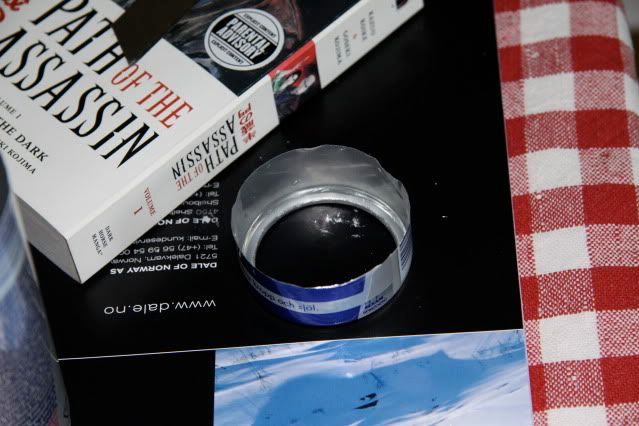
Cut bottom piece.
Next I set the just cut piece on the other can and widened it carefully. The more effort you invest now here, the easier its going to be later. I then took my trusty Bundeswehr knife and marked the holes, and then opened them with a needle. After that I went once more back with the knife and made the holes a bit bigger.
Widening the top piece carefully.
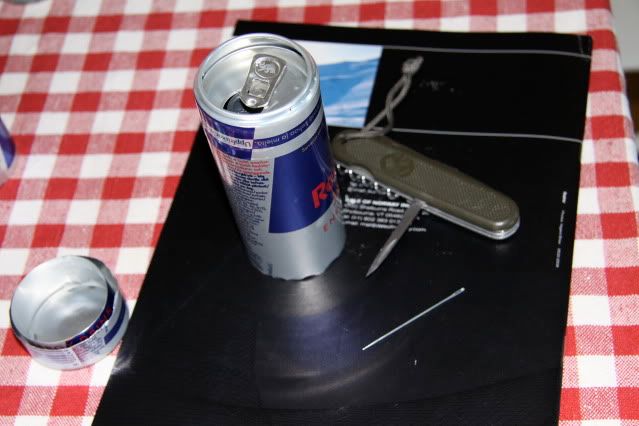
Making holes.
I put the finished top piece aside and took the bottomless can, made a cut straight down the can with the scissors and along the top to get the big piece of aluminum.
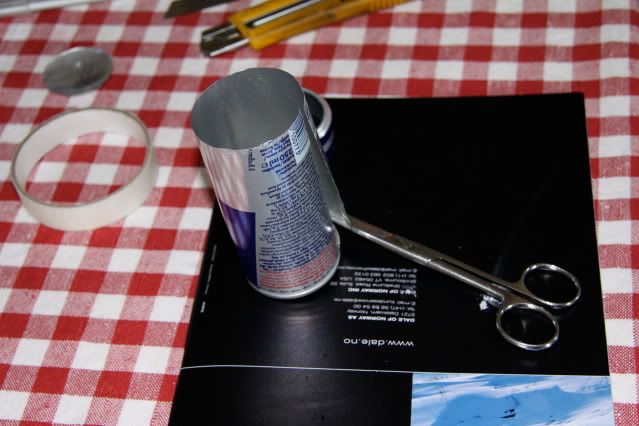
Cut down...
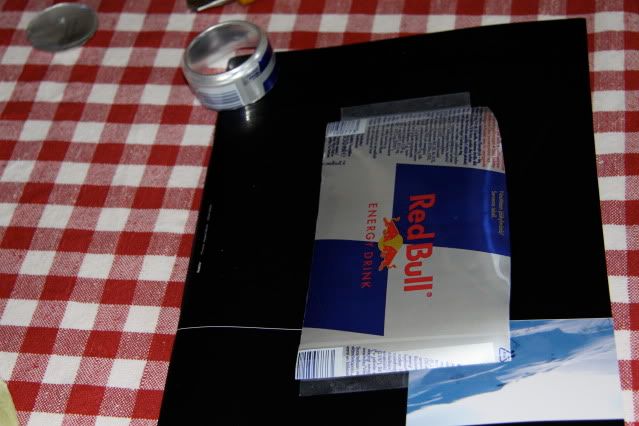
... and you end up with such a piece.
I cut a 2,5 cm strip of the aluminum and punched four half holes in the bottom, made two cuts and had the finished middle piece.
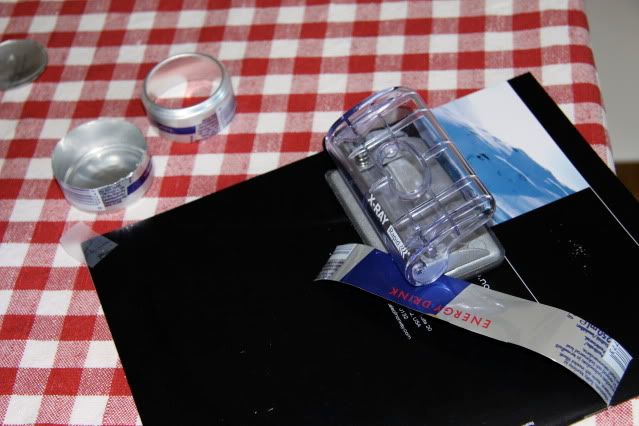
Punching holes.
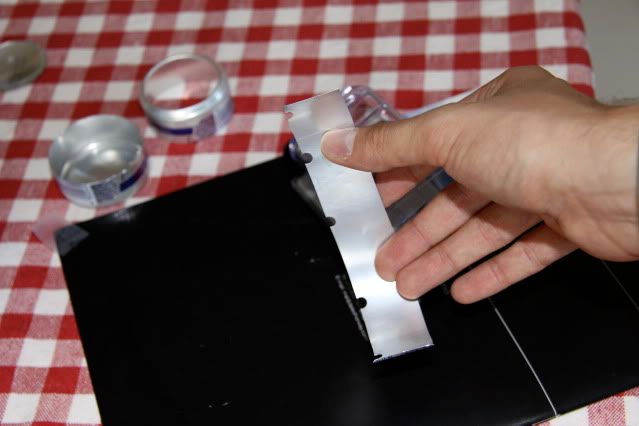
Middle piece finished!
Next I took the other can, and cut the bottom of, again at 2,5 cm height. A book is a good guide for your cutter knife, as you saw already above, and makes the cutting substantially easier.
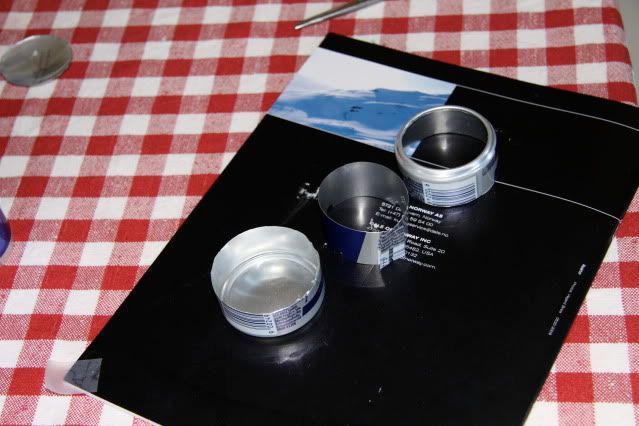
Three finished pieces, time for assembly.
Before you start assembling, its a smart move to make a dry fit, and see how the ring fits in the top and bottom part.

Almost done.
Set this inner ring in the bottom piece, and then carefully and precise fit the top piece with the holes over it. If you're not careful enough a piece might rip, and you need to redo it, so restrain from using force and try it gently. If you got the top piece over the bottom piece, gently slide it down and look that the inner ring goes where its supposed to be. Zenstoves.net even glues the whole thing and lets it dry over night, which I didn't find necessary.
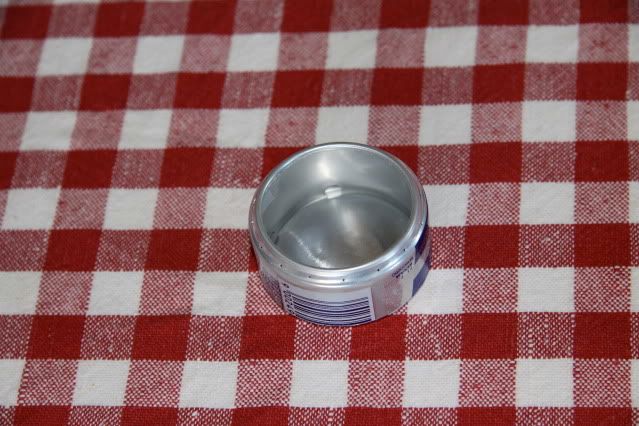
Finished!
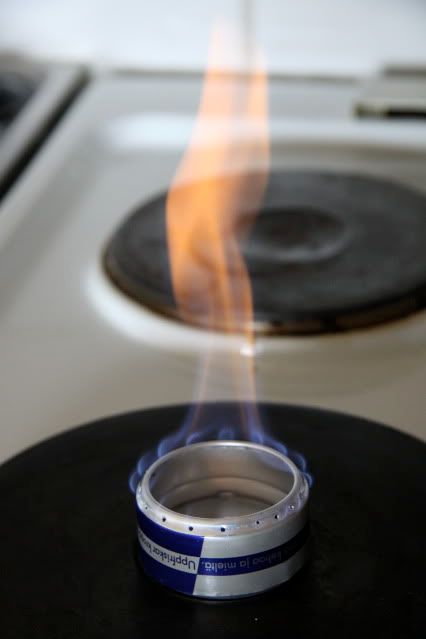
It works.
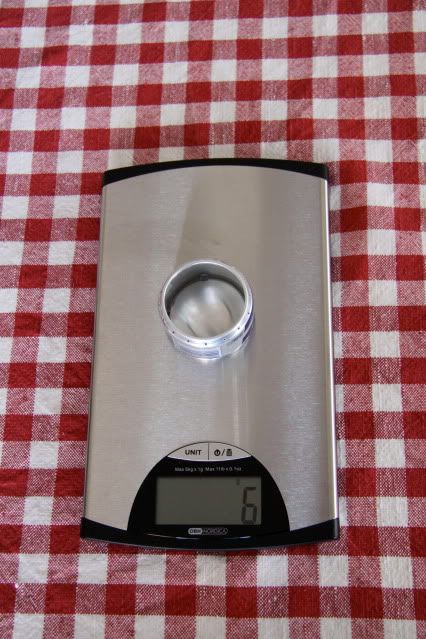
Its ultralight: 6g!

Start!
Take one Redbull can, and start cutting the bottom out of the can. I found it most simple to mark out the the place to be cut a few times and then add more pressure for the cut. The material is very thin, and this method has worked well for me.

Finished hole in the bottom.
Next I turned the can with the hole down, took a book of 2,5 cm height and marked the can where I want to cut it off.

Marking the can.

Cut bottom piece.
Next I set the just cut piece on the other can and widened it carefully. The more effort you invest now here, the easier its going to be later. I then took my trusty Bundeswehr knife and marked the holes, and then opened them with a needle. After that I went once more back with the knife and made the holes a bit bigger.

Widening the top piece carefully.

Making holes.
I put the finished top piece aside and took the bottomless can, made a cut straight down the can with the scissors and along the top to get the big piece of aluminum.

Cut down...

... and you end up with such a piece.
I cut a 2,5 cm strip of the aluminum and punched four half holes in the bottom, made two cuts and had the finished middle piece.

Punching holes.

Middle piece finished!
Next I took the other can, and cut the bottom of, again at 2,5 cm height. A book is a good guide for your cutter knife, as you saw already above, and makes the cutting substantially easier.

Three finished pieces, time for assembly.
Before you start assembling, its a smart move to make a dry fit, and see how the ring fits in the top and bottom part.

Almost done.
Set this inner ring in the bottom piece, and then carefully and precise fit the top piece with the holes over it. If you're not careful enough a piece might rip, and you need to redo it, so restrain from using force and try it gently. If you got the top piece over the bottom piece, gently slide it down and look that the inner ring goes where its supposed to be. Zenstoves.net even glues the whole thing and lets it dry over night, which I didn't find necessary.

Finished!

It works.

Its ultralight: 6g!

It fits inside my BushBuddy Ultra together with my FireSteel and cotton balls!
I hope you found this little guide interesting and inspiring to try it yourself. Its an easy task and takes around 30 minutes, and doesn't need special tools. I know there are a few (new) BushBuddy Ultra owners out there, so this could be an interesting project for them ;)