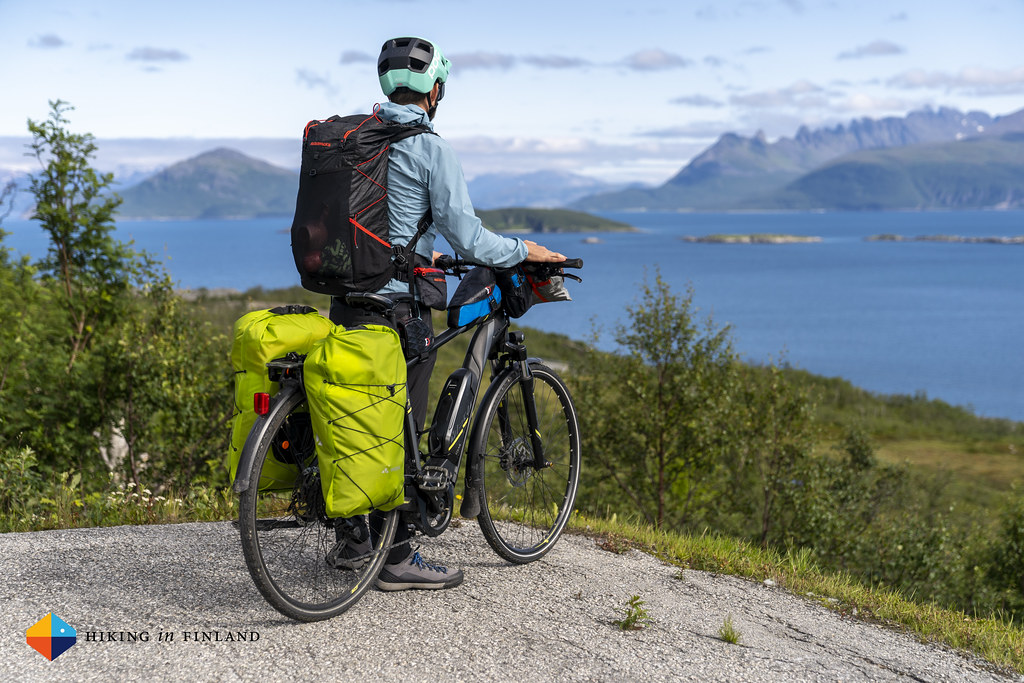
Exploring the country by bike and camping out - bikepacking and bike-touring has been massively popular during the last year, for a good reason - it’s a much better way to go for a road-trip than by car, and you’re able to see more than by hiking. I too went exploring Northern Norway this “summer” (it was slightly moist!) and used a combination of traditional bike-touring Panniers and bikepacking bags, which allowed me to have all my kit close at hand while on the road. This setup has been working a charm for me and continues to serve me well on my local trips - a good reason to tell you more about it though!
Disclosure: This article has been supported financially and with equipment by Bikester. As you know: I’m keepin’ it real and tell you how it is - I maintain full editorial control of the content published on Hiking in Finland. Read the Transparency Disclaimer for more information on blogger transparency and affiliate links.
My first proper bikepacking trip was 9 years ago with Peter and Toni - and yes, that’s quite a while ago! Things have changed since then, too, as big brands have picked up on the topic of bikepacking, there have been innovations in bikes, bags and techniques, and more and more people have started to explore single trails with bikepacking kit since. Good stuff!
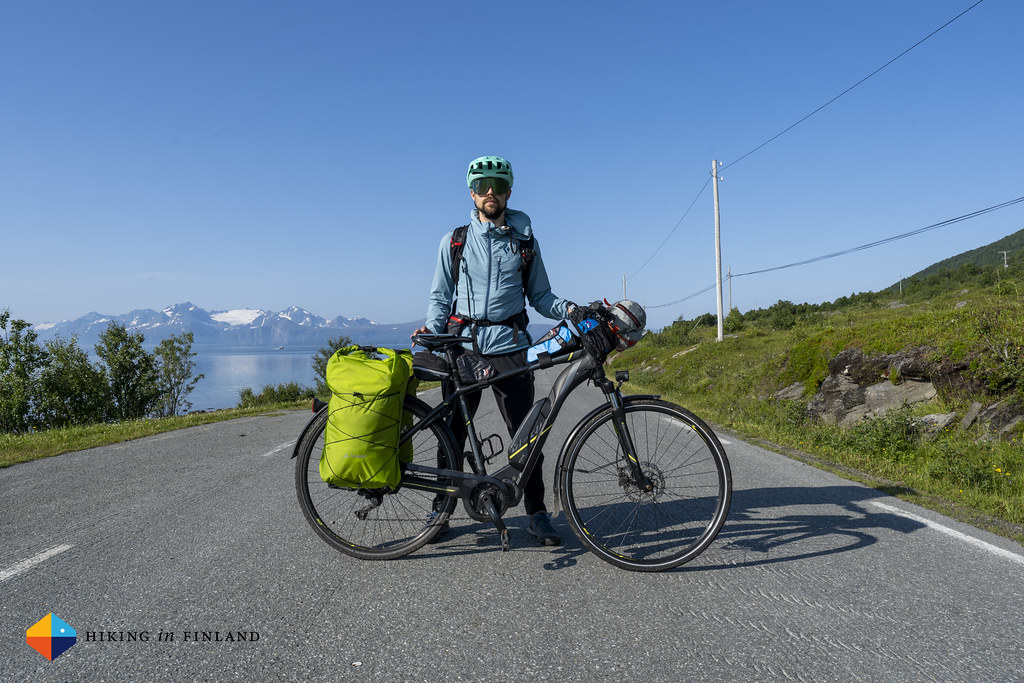
I knew that on my Norway trip I will be mostly cycling on roads, using the Hurtigbåt to move from island to island to cycle and hike there. I also didn’t take my own bike with me, but loaned an electric Trekking Bike from Tromsø Outdoors to get around. All that made me decide to take more classic Pannier bags for the majority of my kit. To be precise, these would transport my quilt, bivy, mattress, stove, food and clothes, as well as some tech stuff. I own two small Porcelain Rocket Pannier bags, but I knew they’d be too small for the kit in question, so I had a look around and found the Vaude Aqua Back Light Pannier bags, which tip the scales at a mere 548 g for one or 1.096 g for the pair. These were super spacious with almost 20 l of Volume per bag and I also liked that they have on the inside two pockets (one zippered), which are ideal for storing documents and small stuff. The backplate gives the whole bag some form and a stable platform to load it up, while the welded 100% recycled Econyl fabric - it is also 100% PVC-free! - is 100% waterproof. And rain I had on my trip in Norway more than enough =)


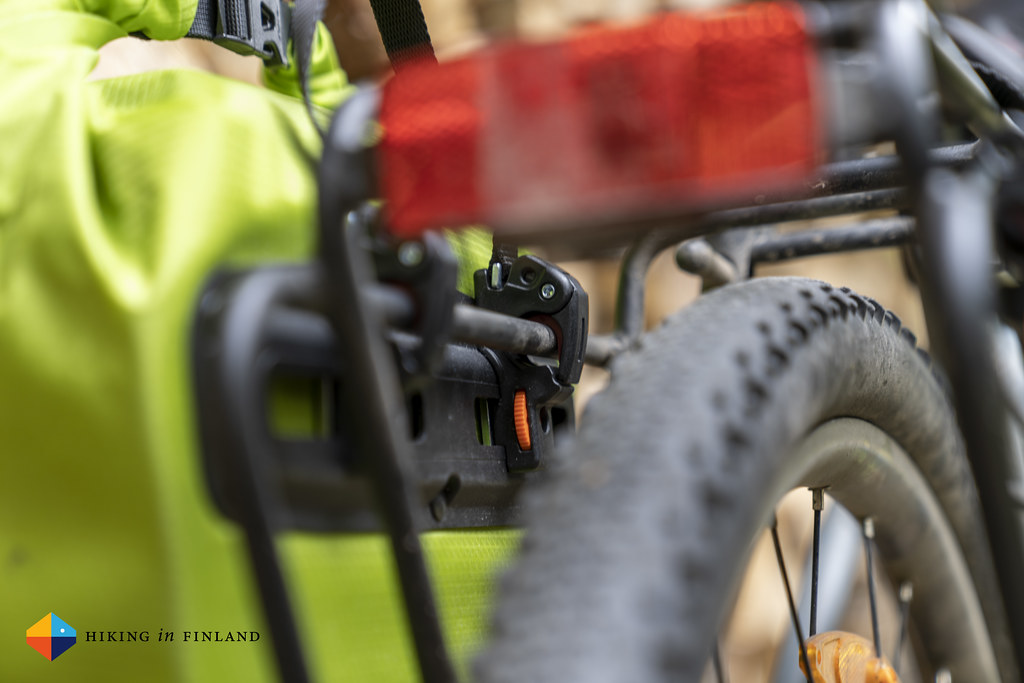
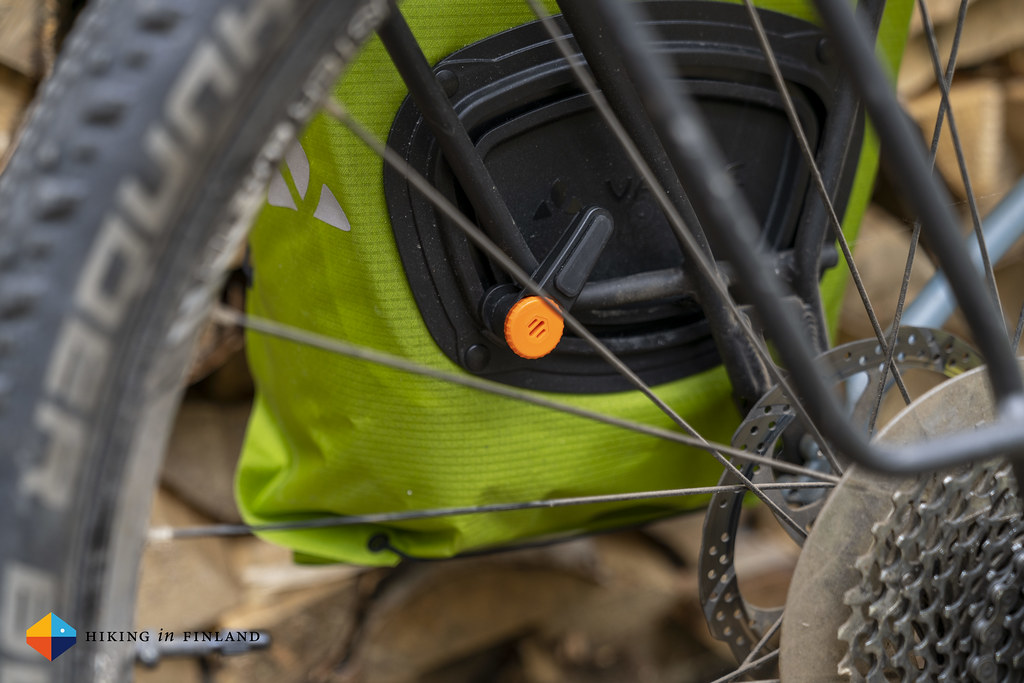
The attachment tech on the bag of the Pannier, called Quick Mount Release Hook QMR 2.0, is 100% adjustable to the rack on your bike - the lower hook can easily be moved 360° around the plate, and the two hooks at the top can easily be moved closer together or wider apart, and the inner diameter can also simply be adjusted to the diameter of your rack. They are just as easy to remove from the bike, which means setting up the tent and moving the gear inside is super-easy. If you want you also can use these bags as shoulder bags with the included straps, but I found the two handles more than enough to carry the bags around. The roll top closure provides quick access, the cargo net - the bungee straps - at the front provide some compression of the content, but also allow to keep your rain jacket or spare shirt close at hand (I wouldn’t do that, but should be safe to do).
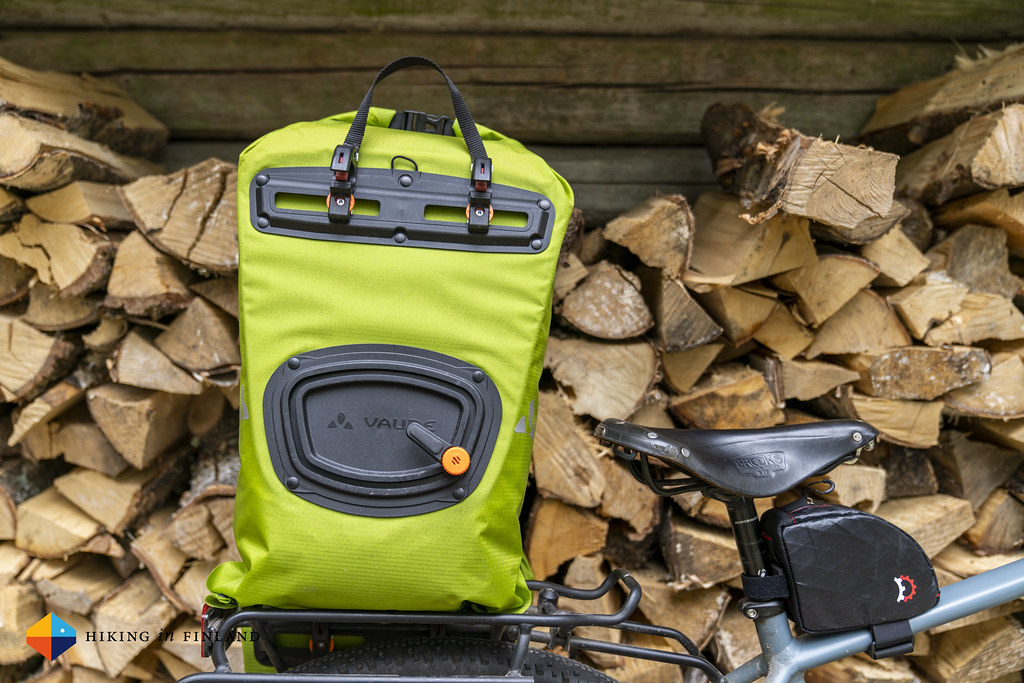
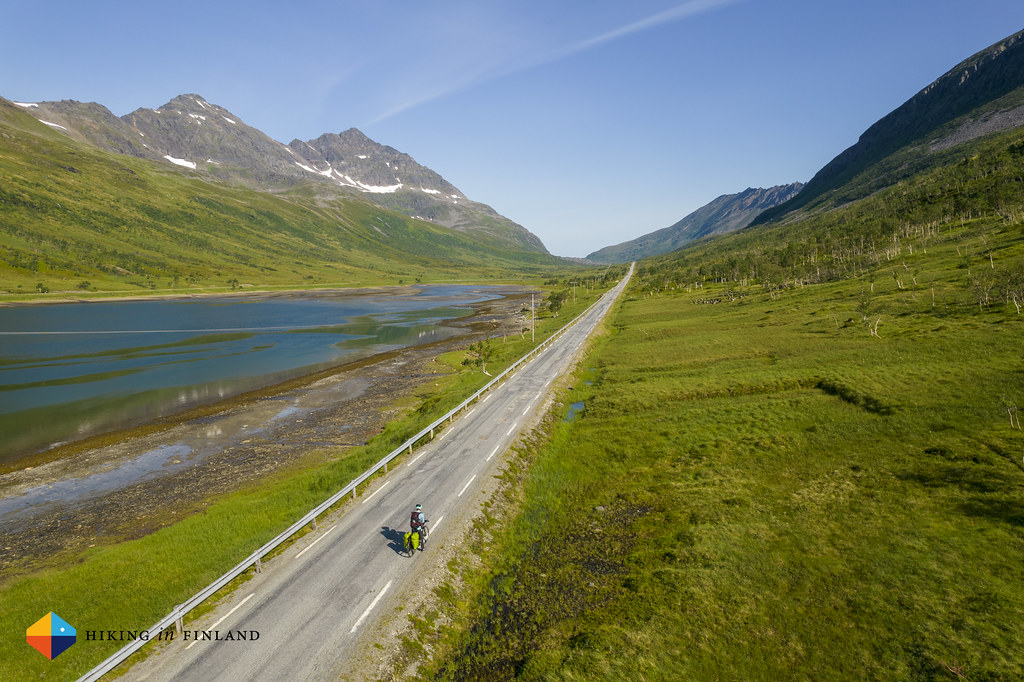
The total volume of both bags is a claimed 38 litres with a recommended maximum load of 10 kg per bag. Overall I was a bit sceptical and not sure if these would work for my needs, but after 10 days on the road in Norway with them I’m a convert and love these Aqua Back Light Pannier bags from Vaude! Add in that they are Made in Germany with a short supply chain from 100% recycled Econyl that’s 100% PVC-free and you have a great Pannier for your bikepacking and cycle-touring adventures! In terms of aerodynamic I didn’t find that they slowed me down - I usually had an above 20 km/h average speed, which is similar to what I cycle on my bike without any bags. For relaxed bikepacking and cycle-touring trips they shouldn’t slow you down at all, which is what I expect you’re planning to do too =)

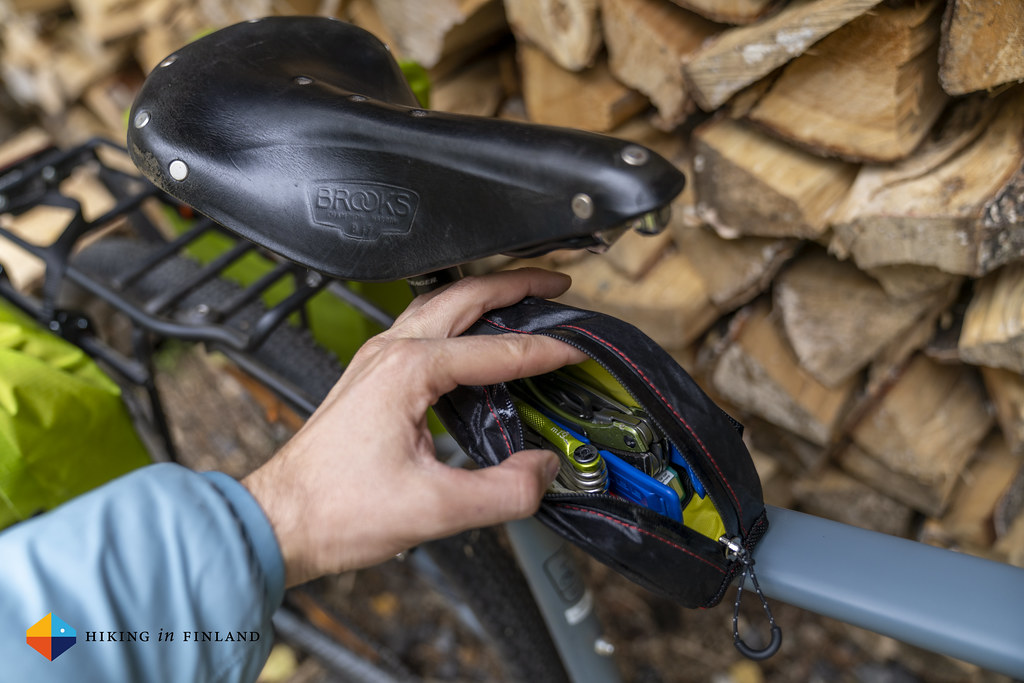
Up next are the three Revelate Designs bikepacking bags I ordered from Bikester. I have been using bikepacking bags from various well-known brands since almost a decade, and it’s something I always want on my bikes for ease of access to important kit while riding. The three Revelate Designs bags I ordered are the Jerrycan, Mountain Feedbag and the amazing Mag Tank 2000. Lets start with the Jerrycan, as ideally this is the bag I access the least.

That’s because the Jerrycan holds on my own bikes all my repair kit: A bike tool, a spare tire + repair kit, a knife, some paper (in case the chain drops) and a Tire Lever or two. With these tools I can fix most issues I usually encounter on a trip (it are flat tires on my Tubeless rides 😆) and they are easily accessed but still out-of-the-way on the bike. The Jerrycan is durable, with a waterproof zipper and construction, and has about 500 ml Volume - really plenty for me. There’s a rubberized patch at the lower strap so it does not damage the paint job on your bike, and at the back strap a foam insert protects your seat post from damage. All in all a good piece of kit which does what it does, and that it does well!
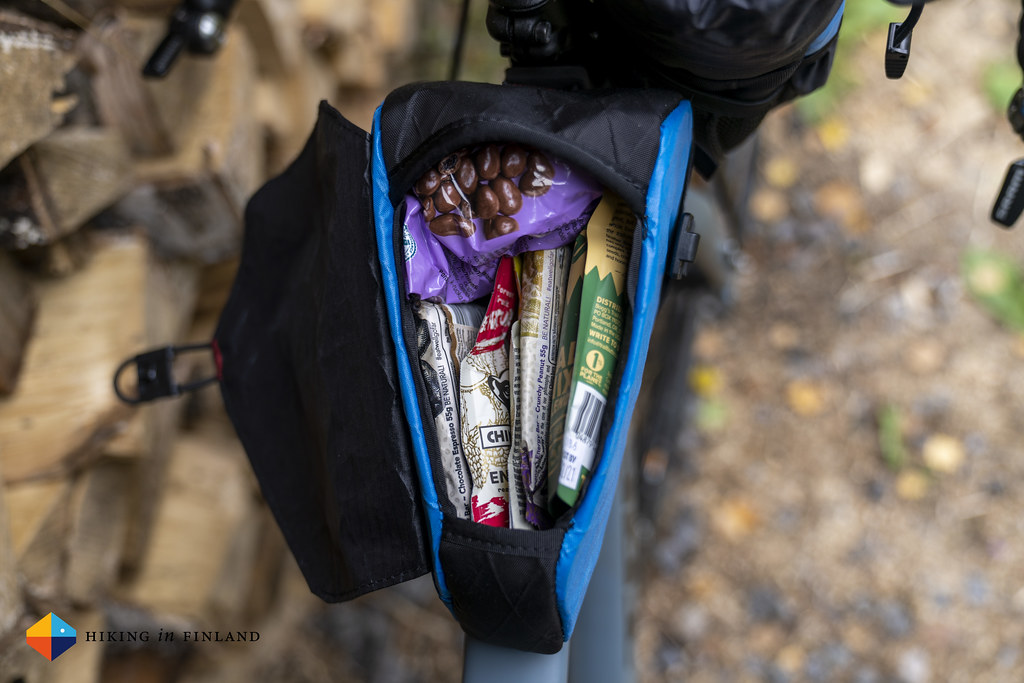
More flexible in use is the Mountain Feedbag. It can hold your water bottle in the main compartment (also around 500 ml Volume) or all the snacks you want to stuff in there.

I am Team Waterbootle in the Mountain Feedbag, but with it’s three Stretch pockets you also can put bars, gels or even a GoPro HERO9 in there. It is a 102 g light and has three attachment points, and can be attached on either side of your handlebar (so yes, you could get two!). What I really love about it is that you can open and close it with only one hand, thanks to the smart attachment system Revelate Designs has developed. This means on bumpy rides you can easily close the Mountain Feedback and not have any of the content drop out. Some people also transport their cameras or lenses in them, which doesn’t work for me (lenses & cameras too big 😬) but could be a good way for some to have their camera close by.


“And where do all the Snacks go?” you might wonder. In the Mag Tank 2000 obviously! It is 149 g light and has a massive volume of around 1 litre or, all the snacks you might eat in a day or three. It also can hold a massive bike lock chain, but as you really can’t eat that I would put snacks of your liking in there. I absolutely LOVE the magnetic closure on it, it’s again such a feature which makes life while riding so much easier that you might wonder how you were able to survive without magnetic buckles on your previous trips. Also this piece has a durable construction that has kept the content dry on my trips, is easy to attach to the bike (also with the same protective features for your frame + paint job as on the Jerrycan) and it makes snacking while riding a breeze.

All in all these four (five) bag setup has held all my camping, hiking and bikepacking gear with room to spare. As I carry a Full-Frame camera + lenses + tripod + a GoPro + a Drone and spare batteries + cables I need a backpack, but if you are happy with photos from your phone or a small camera then you should be fine without a backpack and can ride without a sweaty back! The combination of classical cycle-touring Pannier bags + accessible bikepacking bags has worked well for me on my trips this summer, and while I own a handlebar bag and a seatpost bag for 100% bikepacking I find the Panniers easier and more comfortable to use - and on roads, be they asphalt or gravel, it is not a disadvantage at all in my experience.
If you currently are planning a biketouring trip and still are unsure of how to pack all the gear, I hope I could inspire you to try this or a similar setup. It has handled lots and lots of rain 🌧 really well, kept me well hydrated and fed, with easy access to all my gear. I also found it cool to find with Bikester a Store in Europe which carries a lot of gear from Revelate Designs but also many other brands - like Vaude! Shipping from Bikester was super-quick, with some of the kit being with me in Vaasa after just two days after ordering, for no extra costs! In the end I am very satisfied with this setup, and can’t wait to head out with the bike for a trip and camping out!


If you enjoyed this article support me on Patreon (and you get great discount codes from partners - you could save 20% on your next purchase!) or buy me a coffee - I work Full-Time on Hiking in Finland to bring you inspiring trip reports, in-depth gear reviews and the latest news from the outdoors. You also could subscribe to the rarer-than-ever Newsletter and follow along on Instagram, Twitter, Facebook and Youtube for more outdoorsy updates!
